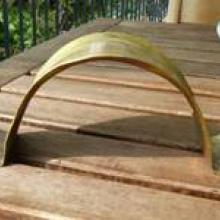
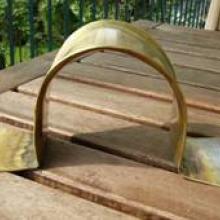
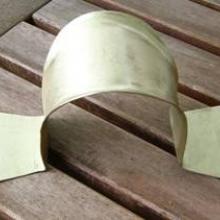
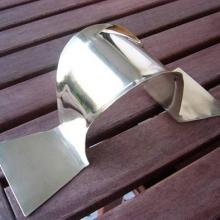
The Porpax (strap handle) is a means to carry the Aspis (Hoplite shield). A second grip, the Antilabe, is fitted on the inside of the shield alongside it, but the function of the Antilabe is to better control the Aspis, and not carry the weight. The Porpax is fitted near the center of the shield, and the antilabe is fitted close to the rim.
Choosing a Shape
There are finds with a number of different shapes for strap handles. The one shown here is one of the most simple, and probably one with the highest comfort for the wearer. The first step in constructing a porpax is certainly to decide on a shape.
Measure your Arms
The porpax has to fit the arms of the soldier to be comfortable! Measure the circumference of the thickest part of your arm below the elbow, which is the place the porpax will rest on in the carrying position.
Produce a Template
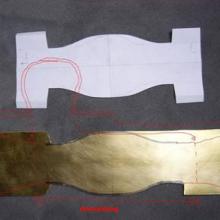
The next step is the construction of a template based on the chosen shape and measured dimensions. This will greatly reduce the complexity of cutting the metal. See the following picture for clarification.
Cut the Metal based on the Template
The next step is to cut the metal sheet based on your template. Here we use a brass sheet with a thickness of 2 mm. We used metal shears, a jigsaw, and different files.
Bending the Sheet (trapezoid Ends)
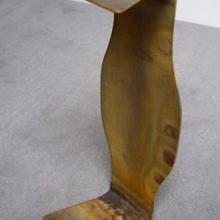
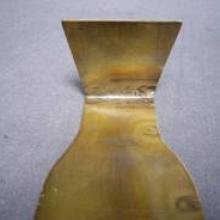
It is important to heat up the metal in the area of the sharp bend so it does not tear. Hammer the sheet over an edge to form the perpendicular bend. I used a plastic hammer, so it would not leave any lasting marks.
The Picture shows the staining of the metal caused by the heating process.
Bending the Sheet (curvature)
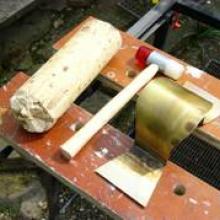
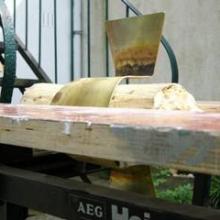
Now we arrive at the interesting part, the forming of the curvature of the Porpax. You can hammer it over a mold as well. I used a thick branch of wood with a similar circumference as my arm.
I clamped the sheet to the branch and hammered it over the branch to create the curvature. Again I used the plastic hammer to leave no lasting marks. The curvature does not have to be perfect at this point, it will open up a bit in the next step anyways.
Forming the Edges
This step mainly serves the comfort of the soldier by preventing the edges from cutting into the flesh of the arm.
Again you should heat up the metal you work on to prevent tearing, before you start hammering.
The Porpax is placed on an edge, like the letter U, so that the edge runs along the bend that should form the edges. While rotating the porpax you can hammer out the edges. It is completely normal that the curvature of the Porpax opens up a bit in this step.
Restoring the Curvature
Consequently the next step is to restore the original curvature. You can do this by hand or again by hammering.
Smoothing
Next we smooth the Porpax, or at least all visible parts. I recommend smoothing the inner side a swell to create a protective layer against corrosion. We smooth multiple times using increasingly finer sanding paper.
Polishing
The last step is the polishing of the Porpax.
Fitting
Well, not completely finished. At the time of writing this article, my Aspis did not exist. To fit it on the shield you would drill small holes on the trapezoid ends of the Porpax


